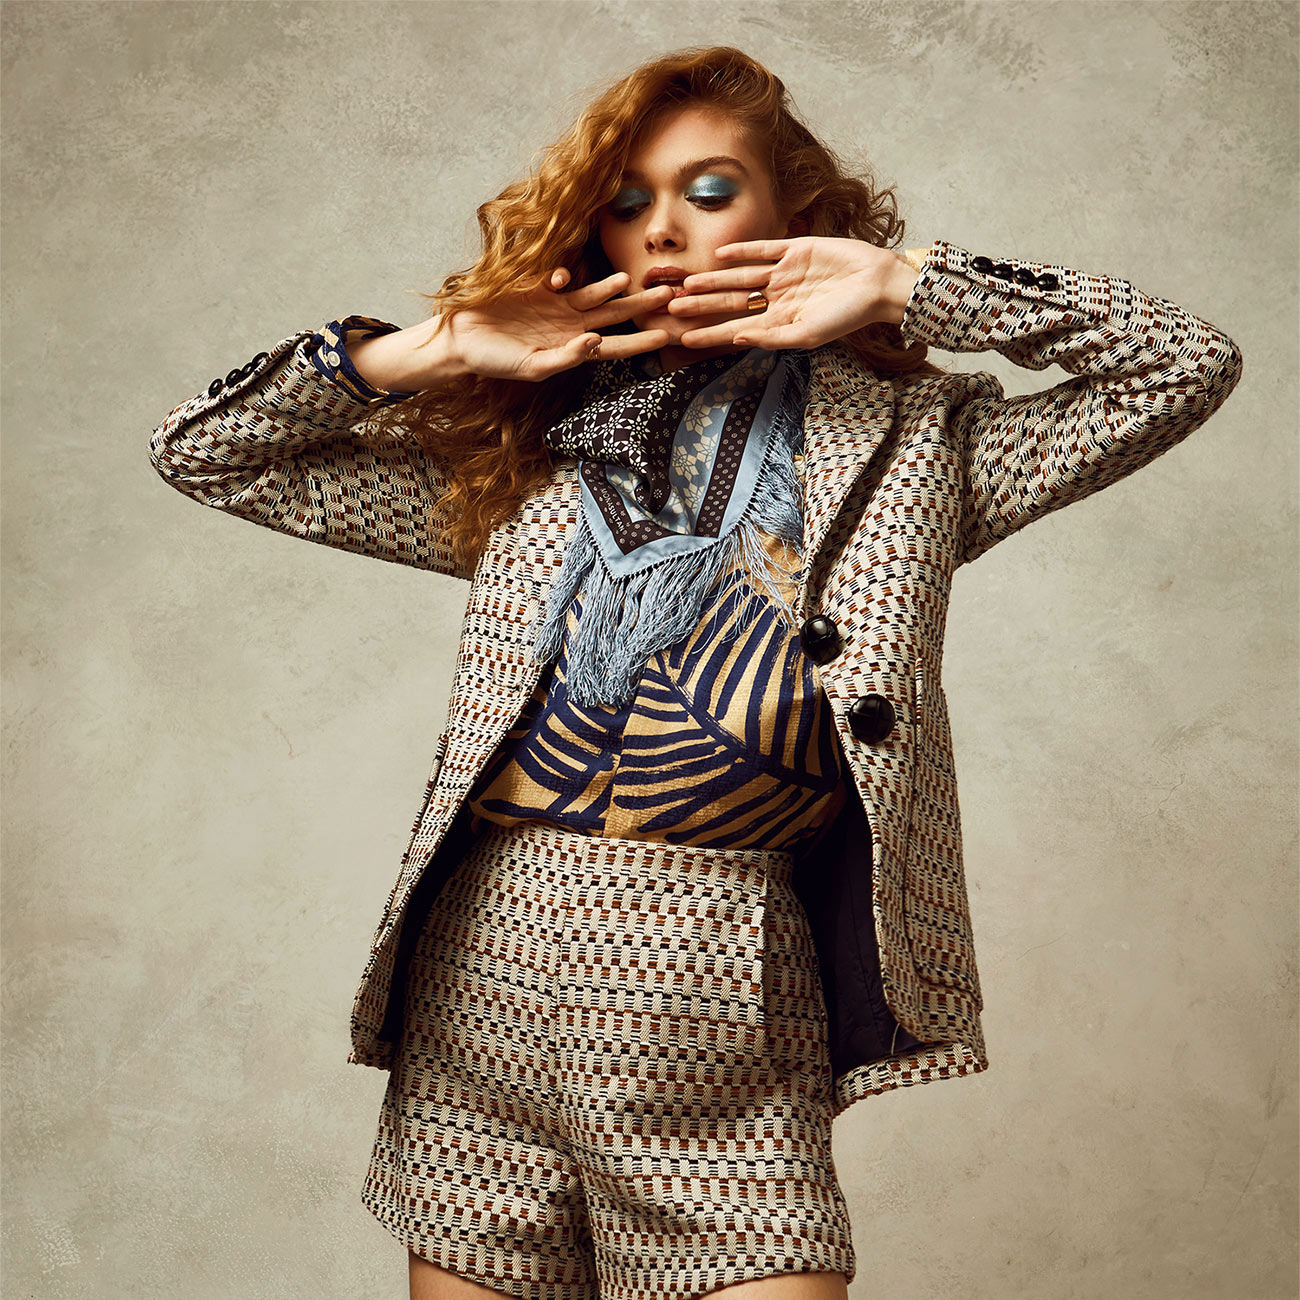
Tips for self-portraits
Brandi Nicole, a portrait photographer based in Brooklyn, New York, is well known for her self-portraiture work.
While in quarantine, she challenged herself to stay creative by photographing even more self-portraits.

The more I shoot self-portraits, the more I learn, and so I wanted to encourage anyone who is curious to try it out! The following are my top tips and advice on getting started.
Now has never been a better time to explore new photography and lighting techniques through self-portraiture. For many of us, this form of photography seems more intimidating than having a model and team present, but I assure you- it is way less scary than it looks!
As someone who used to dislike being in front of a camera and somehow came out on the other side something of a self-portrait artist – I can tell you that the lessons I have learned through countless trial and errors have without a doubt been one of the key factors in my growth as a photographer.
The more I shoot, the more I learn.

My equipment
- A Camera Nikon D850 (set to take nine exposures 5 seconds apart).
- Tripods
- Lights ELB 500 TTL.
- Light Shapers Rotalux Octa Softbox 100 cm.
- A Laptop with a remote shutter for the camera and a tether cord.
- Capture One or Lightroom
Bring it close to you but out of frame to make adjustments while shooting. - A mirror Yes, I like to use a mirror!
Set up directly behind the camera so I can see my ‘pose’.
Now, if you don’t have some of these things – do not fear.
You can honestly be creative and take self-portraits with just your iPhone if you wanted, but as I slowly acquired these tools – taking photos became a whole lot easier and I kept taking my self-portraits to the next level.
My space
I want to focus now on some of the self-portraits I made on a small 1.5×1.5 m (5 ft) clearing on the floor in my tiny Brooklyn apartment a few years ago. I used one ELB 500 TTL light with a Rotalux Octabox 100 cm and was able to create self-portraits I still love to this day.
It is important to remember that you can create whatever space you have, whether that’s the floor of your bedroom, your bathroom, setting up a small studio in your living room, or going outside!

Think outside the box.
The idea of a self-portrait that shows your face is scary.

Be creative
Once you have your gear set up, now is the time to be creative.
If the idea of a self-portrait that shows your face like a traditional portrait is scary, think outside the box.
How can you incorporate light & shadow to create a more mysterious portrait?
How can you use the design principles of shape, motion, or lines to create a dynamic self-portrait?
Think outside of the box, and you will be rewarded with interesting portraits!

Experiment with everything you have
If you are newer to photography or lighting with strobes and want a great activity to help increase your knowledge of how to light portraits; Self-portraits can help! Challenge yourself to experiment with testing your lights and modifiers in self-portraits. Experiment with every type of modifier you have: Bring your light directly over the camera for a photo, then over to the left/right, bring it closer or further, bounce it into a wall or ceiling – repeat with every modifier you have and don’t forget to test with a bare light source!
Once completed; look at them all side by side in a program like Bridge, Lightroom, or Capture One. By comparing your lights and modifiers side by side, you will get closer to mastering lighting and identifying lighting you like to add to your future shoots.

It’s important to remember that not all of my self-portraits (and I bet anyone else’s!) turn out to be amazing and share-worthy. So don’t be discouraged if your photos turn out to be something you don’t love, especially at first.
But it’s important to remember that with every moment you put into trying something new – you are learning new lessons and techniques to help you with whatever shoot you tackle in the future.
We would love to see what you create!
Be sure to tag both #Brandi and #Elinchrom if you end up trying self-portraiture!
Brandi’s favorite kit

ELC 125 / ELC 500
The ELC 125 and ELC 500 are studio lights built to handle your next adventure reliably and consistently.

Transmitter Pro
TTL, HSS and Hi-Sync all in one. The Elinchrom Transmitter Pro is more than a trigger for flash units, it’s the key to a whole new world of possibilities.

Rotalux Softbox
Available in 12 different shapes and sizes, the Elinchrom Rotalux Softbox will quickly become your main light shaper whether you’re in a studio or on location.


